Thursday, 29 August 2013
Week 5 Work - Strategy for concealment of H2
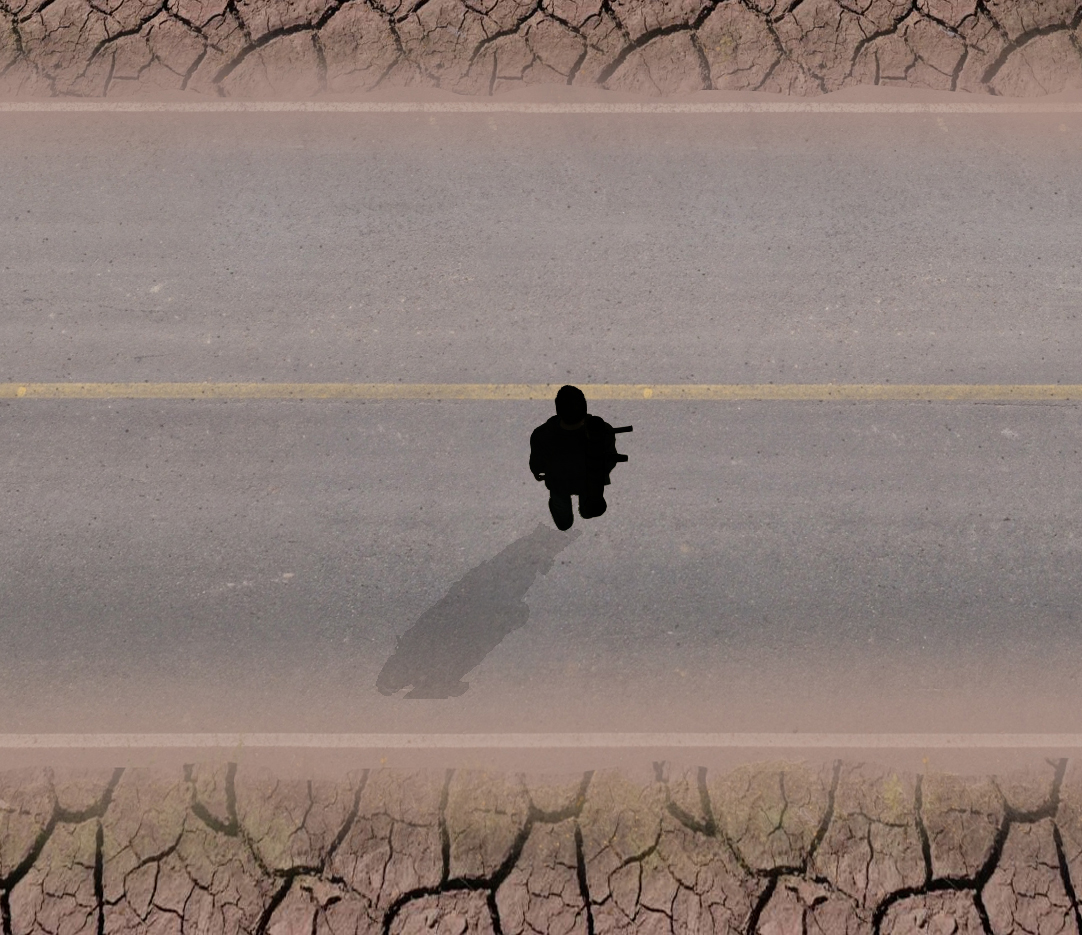
I have decided to hide my 5 variations of H2 within my island in a variety of ways. The first being a large land mass depicting H2. This is able to be only seen from the tip of the volcano, allowing the user to skydive or look down at it from the top of the map. The second is embedded into the pattern of the lava stream running down the volcano side. The Third, is strategically placed with the placement of logs within the forest area of my level. The fourth, placed within the bottom of the lava stream, depicts H2 via the placement of some rocks. If the user is within the lava stream they cannot see it, however if they are on top of a nearby rock they can see it very clearly. Lastly, the smallest H2 is placed within the ruins of the old village nearby, laying on the floor next to a pile of rubble. The papers which are placed in the shape of H2 (decal) allows the user to only view it from up close.
Monday, 26 August 2013
skybox edit + 'h' '2' within my Level
 |
| My Initial "H 2" daniel josepH 333250"2" As you can see I have flipped the 'h' in order to make it flow with the two in somewhat of a mirror image effect. My reasoning for this is that in a volcano, the effects are usually devastating, and nothing more is left behind than a mere memory of what was there before.. |
 |
| A View of my sky within the level. I plan to change this later on. |
Monday, 19 August 2013
Testing How To Make my Textures Move

Week 4: Sky Changing + Image from the Lecture
  |
| This weeks task was to change the sky to add an effect of clouds or whatever we desired to it. I chose to make the sky a menacing green/grey with dark clouds stretching into the horizon. |
Saturday, 17 August 2013
Monday, 12 August 2013
Week 3 Task
 |
| My re creation - William Gilpin Landscape |
 |
| My re creation - Humphrey Repton |
 |
my re creation - Claude Lorrain "Küstenlandschaft mit Acis und Galatea." |
 |
My re creation - Fishermen at Sea, Exhibited 1796Joseph Mallord William Turner |
Friday, 9 August 2013
50 word reflection
From this weeks lecture, I realised the convergence between reality and fiction throughout a gaming environment. The video we were shown depicting the meat dress as well as the guy who 3d modelled a glass bottle shattering gave me the idea to do something similar in my level possibly. To create a volcano errupting in a similar fashion, making a path for the volcanic matter to travel through the air as it spurts out onto my surrounding map environment.


Tuesday, 6 August 2013


5 reference images of different landscapes
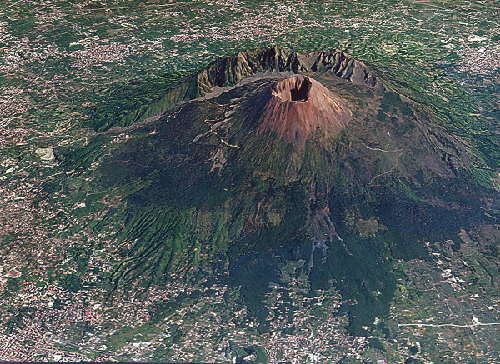 |
| Mount Vesuvius - Italy. A Volcano which wiped out thousands of people and the city of Pompeii. |
 |
| Mauna Loa In Hawaii. The worlds largest Volcano; it rises above the clouds. A height of over 17000m It is truly colossal. |
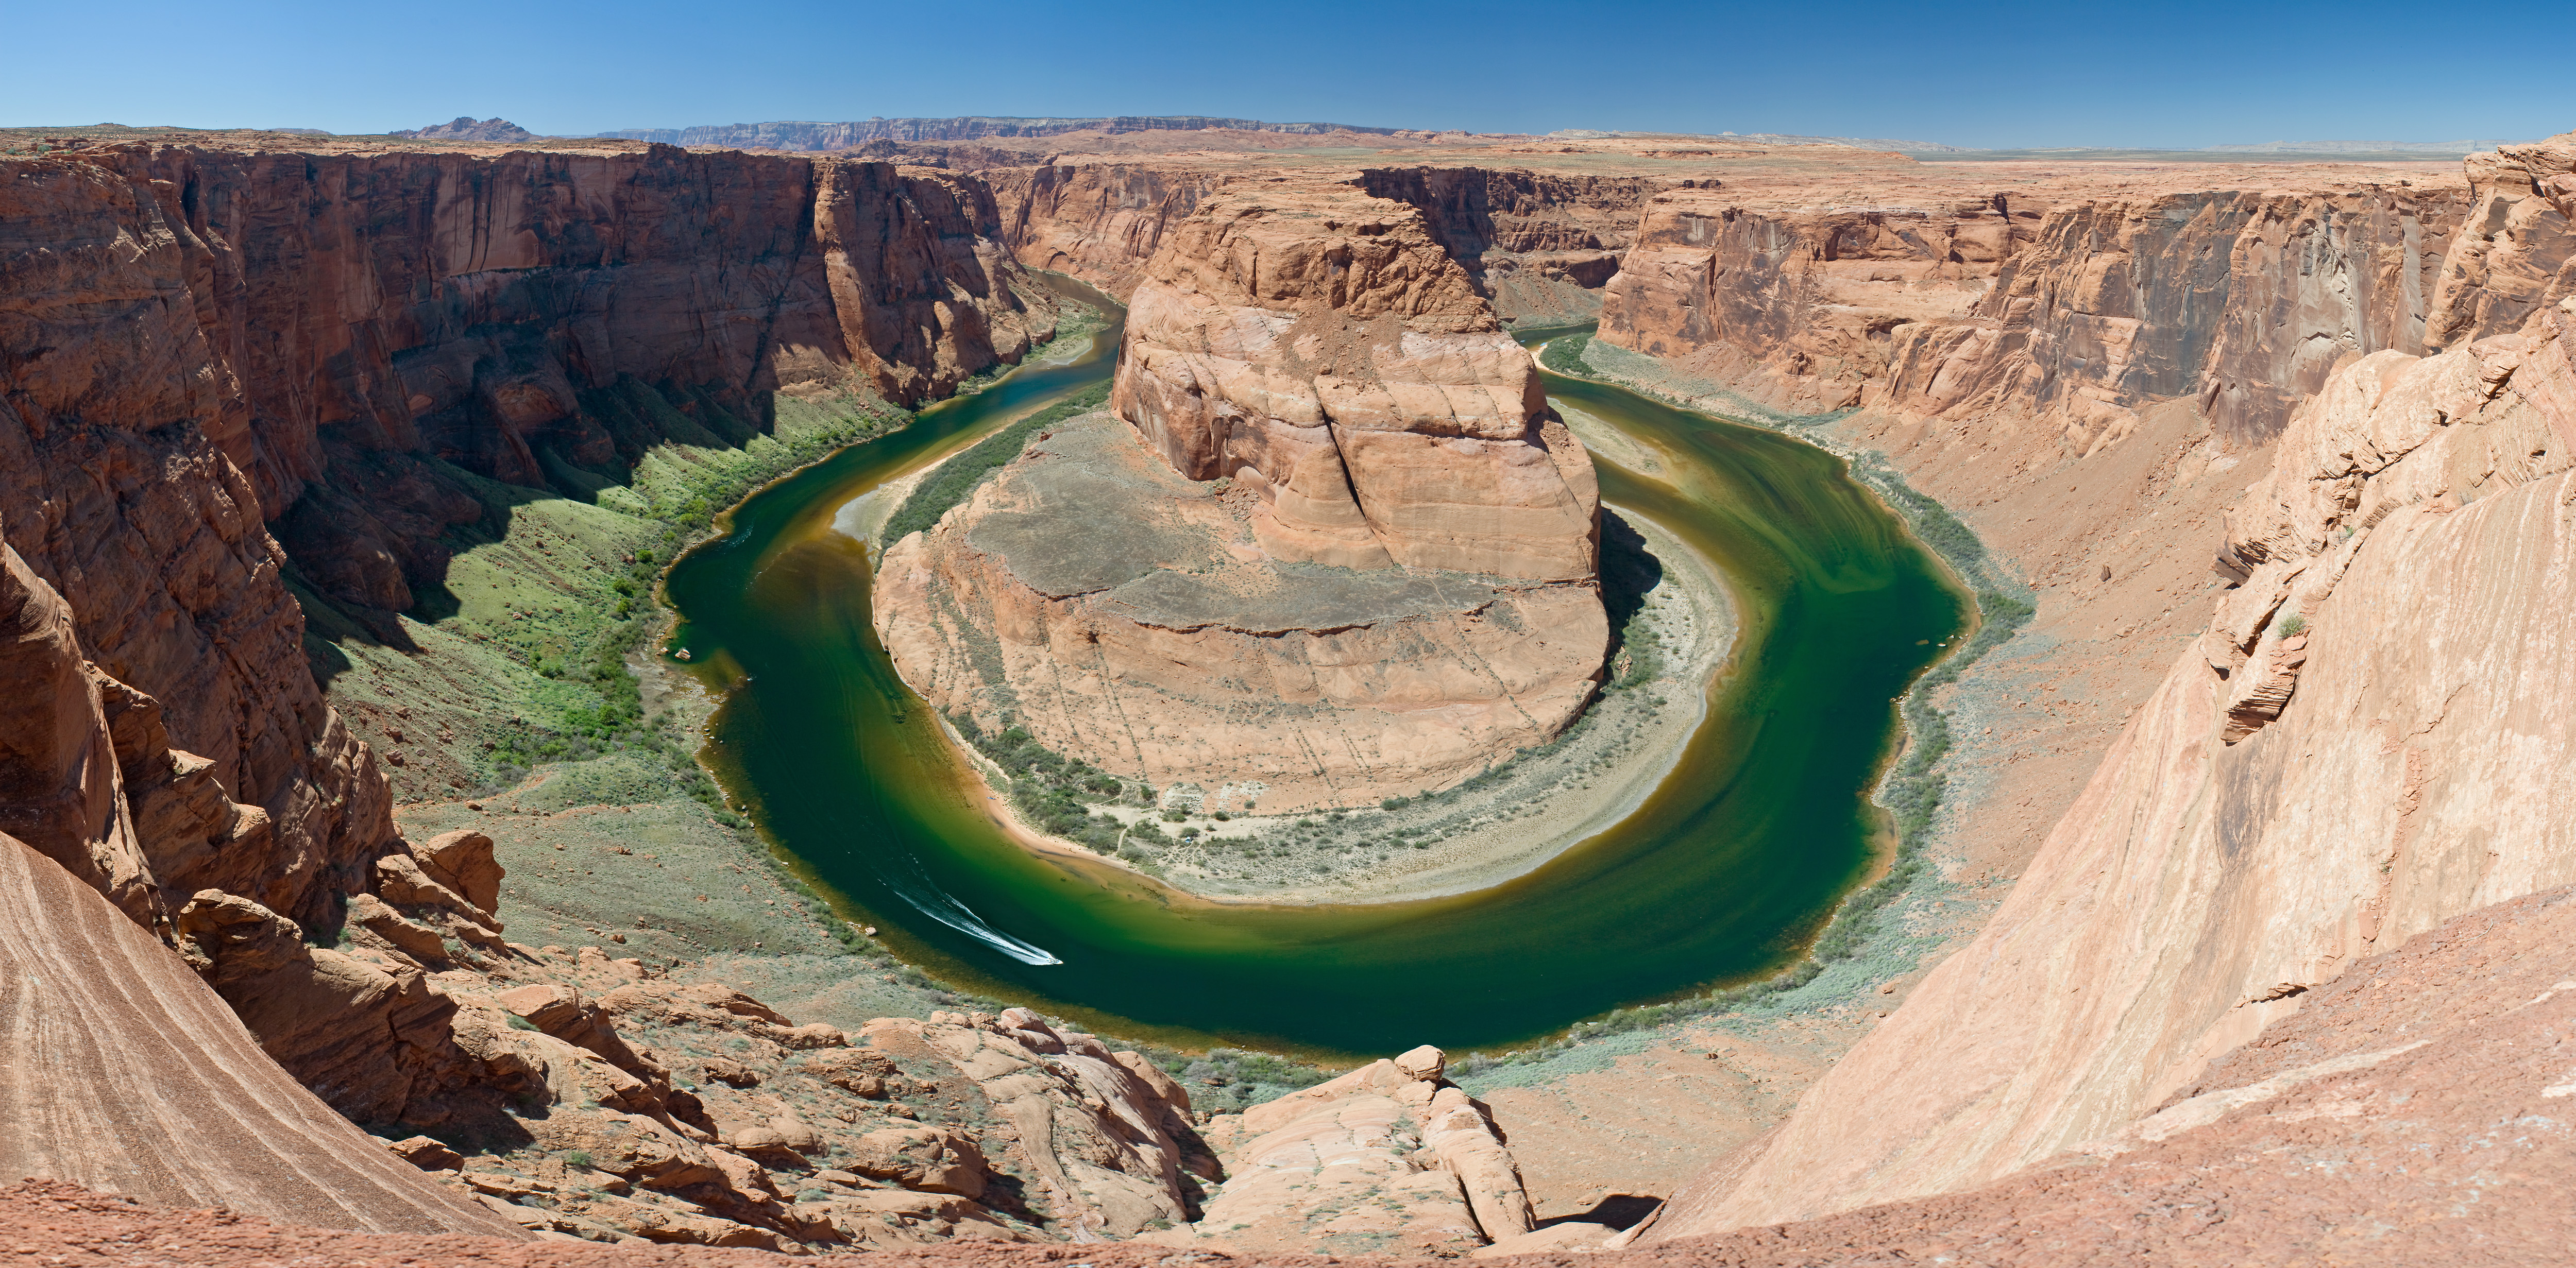 |
| The Grand Canyon in the USA. One of the worlds largest land features. Its rocky beauty is unparalleled. Its majestic height allows one to feel a floating sensation. |
 |
| Mount Everest. The worlds highest peak between Nepal and Tibet. Seen from space, its gigantic nature towers over the entire world. |
 |
| Uluru / Ayers Rock - Australia. One of the largest rock masses in the world. It stands there, desolate, baron and alone in the fierce heat, yet it has withstanded the constraints of time. |
Thursday, 1 August 2013
First Attempt At Volcanic Erruption
By strategically placing smoke particles from various effects, as well as several different fire combination particles, I was able to achieve this so far. As it is week 1 still, I have quite a long time to perfect this, as well as work upon all the other aspects of my project. I am looking forward to hopefully working on it again soon.


Stage 1 - Modelling the Environment
Today I modeled the shape of the environment in which I wish to create for the background. I am going for a volcano look, so that later on I may add particle effects, rivers, some trees, and rocks in order to gain a better, more detailed Volcanic Eruption.
I applied two basic textures for now, and will build onto it when I work on it next.


I applied two basic textures for now, and will build onto it when I work on it next.


50 Words
From the lecture today, it made me realise that Sandbox has endless possibilities when it comes to creating real time interactive environments. It has opened my mind to the idea of creating my environment to be completely different from everyone elses. I hope to create a lava stream running down from a volcano in my model as the background environment to add exceptional effect. I have never done anything like this before with Crysis so it will be interesting to see if I can pull it off - not to mention it will be pretty cool. I know in order to make the lava particles go up in the air I can simply set a waterfall particle object and place it several times upside down, angling it etc..but the hard part will be creating a stream which runs down the side of the mountain. If I can somehow figure out how to change the river tool to create a red flowing lava river, I think it will look pretty awesome.
User Interface Panels
5 Shortcuts are:
F3 - During game play, hitting F3 allows the user to enter 'no clipping mode'. This allows the user to go through objects.
CTRL + G - Allows the User to enter testing/game mode.
` - Brings Up the console allowing for the user to see if there are any errors occuring in the environment.
F1 - Allows the user to cycle through first person, third person and a 360 view of the game play.
F10 - During game play, pressing F10 allows the user to view the character in somewhat of a raw polygon mode.
Viewports
3 Different ways to move around the level are:
1. With the WASD keys on your keyboard.
2. with the right, left click + scroller on the mouse.
3. With the Up, Down, Left, and Right keys on the keyboard
1. With the WASD keys on your keyboard.
2. with the right, left click + scroller on the mouse.
3. With the Up, Down, Left, and Right keys on the keyboard
Customising The Editor
5 ways I can customize the Editor's interface are:
1. By going to the 'Tools' menu, the user is able to select which toolbars they wish to have available on the screen whilst building their environment.
2. For better performance on weaker computers, the user is able to go to the 'config spec' menu option and change between the levels of graphics display ranging from Low(faster performance on poor quality computers) and Very High (for more advanced computers)
3. By going to 'Display' on the menu panel, the user has the option of viewing their model in various forms, two in particular, being wire mode (shortcut F3) and also a 2d Perspective mode ( Shortcut SHIFT + TAB)
4. The user can manipulate the speed at which they move around the environment by changing the speed option at the bottom of the screen in middle. The setting is usually set at 1, but I have personally have it set at 3-4 so that I do not have to wait as much.
5. Rather than dragging an object around the environment, the user can simply select the object or entity and change its co ordinates be entering them in the bar at the bottom of the screen.
Subscribe to:
Posts (Atom)